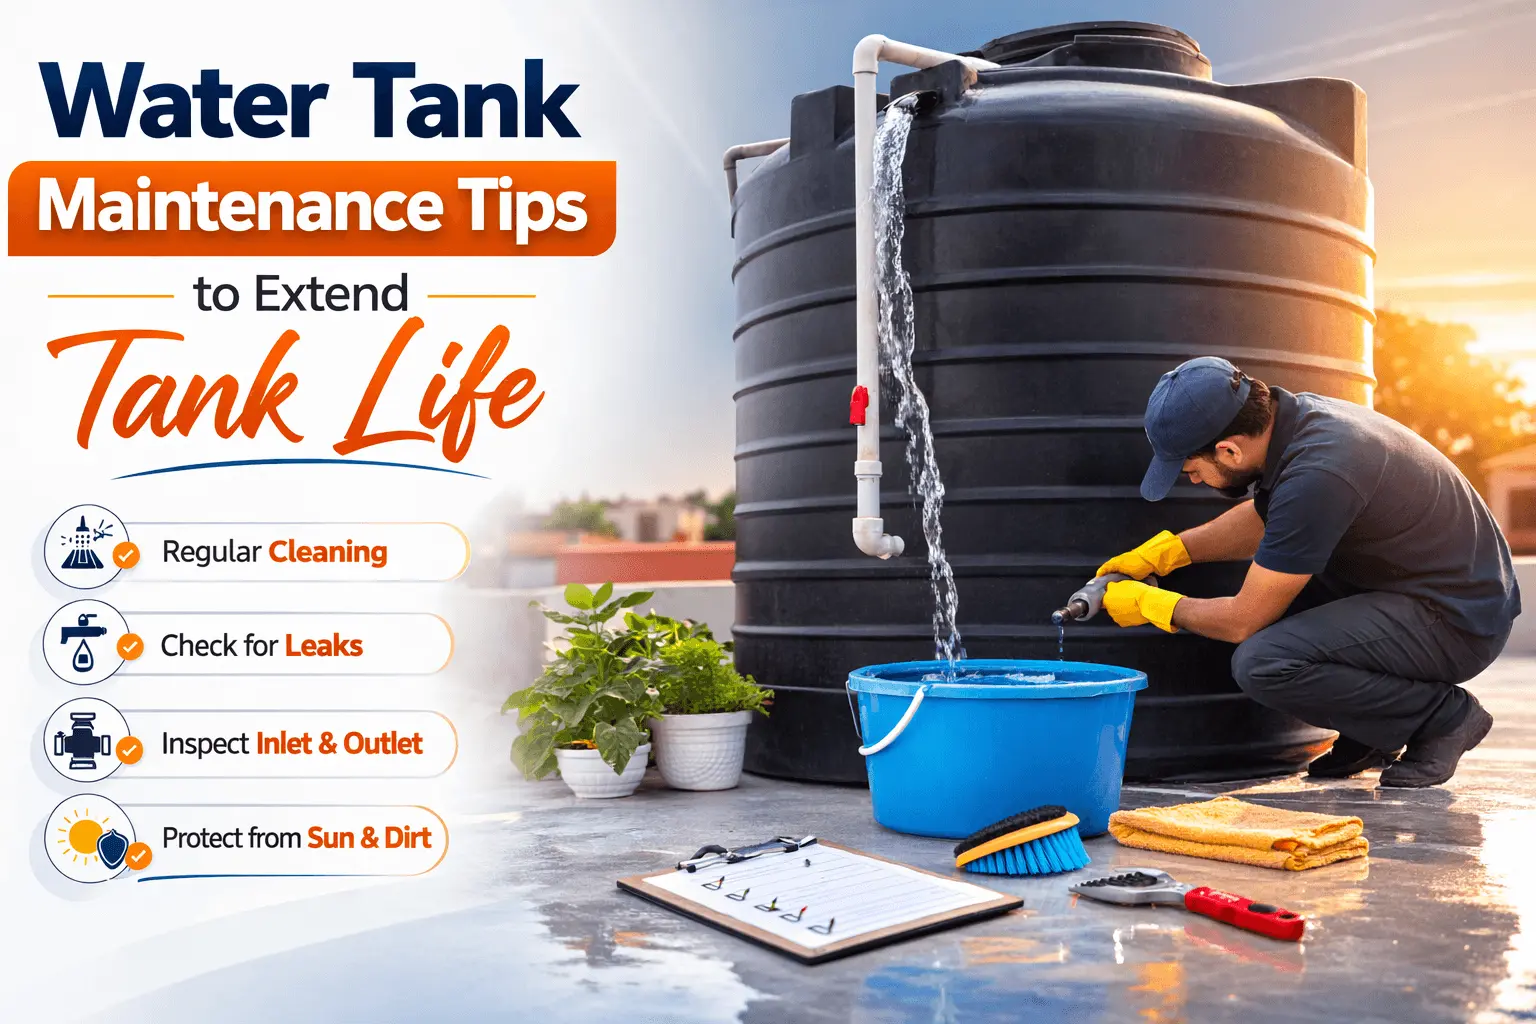
| 🏠 A clean, well-maintained water tank protects your family’s health, prevents costly repairs, and can easily double the working lifespan of your storage system. This practical guide covers everything a homeowner needs to know — from cleaning schedules to leak detection and safety. |
Your water tank is a silent workhorse. It sits in the background every day, supplying water for drinking, cooking, bathing, and cleaning and most homeowners never think about it until something goes wrong. By then, the damage is often already done.
Neglected water tanks are among the most common sources of contaminated household water. Sediment builds up on the base, algae colonises the walls, fittings corrode, and small leaks quietly waste thousands of litres before anyone notices. The good news is that all of these problems are almost entirely preventable with a simple, regular maintenance routine.
This guide gives you a clear, practical maintenance plan for your home water tank — whether it is a cylindrical overhead tank, an underground sump, a plastic rooftop tank, or a rainwater harvesting system.
Why Water Tank Maintenance Matters
Many homeowners treat their water tank as a fit-and-forget installation. In reality, water tanks operate in conditions that constantly work against them — UV exposure, temperature cycling, biological growth, sediment accumulation, and mechanical stress on fittings and seals.
Health and Safety
Stagnant water in poorly maintained tanks creates the ideal environment for harmful bacteria, including Legionella, E. coli, and Salmonella. Sediment at the base of the tank provides a nutrient-rich bed for microbial growth. Algae blooms can produce toxins that make water unsafe even after boiling. Regular maintenance is the primary defence against these risks.
Tank Longevity and Cost Savings
A plastic water tank that is never cleaned or inspected may develop UV degradation, stress cracks, and fitting failures within 5 to 8 years. The same tank, properly maintained, can reliably serve 15 to 20 years or more. A basic annual maintenance routine costs very little compared to the expense of full tank replacement or water damage repairs caused by undetected leaks.
Water Quality and Taste
Even if bacteria are not present, accumulated sediment and biofilm give stored water an earthy, metallic, or stale taste. Regular cleaning removes these deposits and keeps water tasting clean and fresh — particularly important for tanks used for drinking water.
| 📊 | Know Your Tank Capacity First Before planning your maintenance schedule, make sure you know the exact capacity of your tank. This determines how much disinfectant to use during cleaning and how long to allow for refilling after a drain-down. |
→ Water Tank Volume Calculator (Litres) →
→ Water Tank Volume Calculator (Gallons) →
Recommended Cleaning Schedule for Homeowners
How often you clean your tank depends on its type, location, and the quality of your incoming water supply. The schedule below is a practical baseline for most residential tanks.
| Frequency | Maintenance Task |
| Monthly | Visual inspection of inlet/outlet fittings, overflow pipe, and lid seal. Check for unusual odour or discolouration in stored water. |
| Every 3 Months | Inspect exterior of tank for cracks, bulging, discolouration, or signs of UV damage. Check for moisture or wet patches near fittings. |
| Every 6 Months | Check the float valve (ball cock) for correct operation. Inspect the inlet filter/screen and clean if blocked. Test the overflow pipe is clear. |
| Annually | Full internal clean: drain, scrub walls and base, disinfect with chlorine solution, rinse thoroughly, refill. Inspect internal fittings and sealants. |
| Every 3–5 Years | Full professional inspection of structural integrity. Replace aged rubber seals, gaskets, and float valve components. Test water quality. |
Step-by-Step Annual Tank Cleaning Guide
Follow these steps every year for a safe, thorough clean of your residential water tank:
- Turn off the incoming water supply at the inlet valve.
- Drain the tank completely — connect a hose to the drain/outlet tap and direct water to a garden or drain. Never waste this water if it is safe to use.
- Once empty, enter the tank if it is large enough, or use a long-handled brush for smaller tanks. Scrub all interior walls, the base, and any internal baffles with a stiff brush and clean water. Do not use soap or detergent — these are very difficult to rinse out completely.
- Prepare a chlorine disinfection solution: mix household bleach (sodium hypochlorite, 5%) at approximately 0.5 ml per litre of tank capacity. For a 1,000-litre tank, use 500 ml of bleach in 20 litres of water.
- Spray or brush the solution evenly over all interior surfaces. Allow to stand for 30 minutes.
- Rinse the tank walls and base thoroughly with clean water at least three times. Drain completely between rinses.
- Refill the tank with fresh water and restore normal supply.
- Run a tap for 2–3 minutes before resuming normal use, to flush treated water from supply pipes.
| ⚠️ | Safety First During Tank Cleaning Never enter a large underground or enclosed tank without ensuring adequate ventilation and having another person present outside. Confined spaces with stagnant water can have dangerously low oxygen levels. For underground or large tanks, consider hiring a professional cleaning service. |
Preventing Algae Growth in Your Water Tank
Algae growth is one of the most common problems in domestic water storage — particularly in above-ground tanks exposed to sunlight. Algae thrive in warm, light-exposed water and can turn your stored water green, slimy, and potentially toxic within weeks if not controlled.
Why Algae Grows in Water Tanks
Algae require three things to grow: light, warmth, and nutrients. In a domestic water tank, light penetrates through translucent plastic walls or poorly sealed lids, warmth comes from sun exposure, and nutrients arrive from dust, leaves, insects, and minerals in the incoming water supply. Removing even one of these three factors prevents algae from establishing.
| ❌ Common Causes of Algae | ✅ Prevention Solutions |
| Translucent or semi-transparent tank walls letting in sunlight | Use opaque, UV-stabilised black or dark blue tanks that block all light |
| Poorly fitting or missing tank lid allowing light entry | Fit a secure, tight-sealing lid and inspect the seal annually |
| Overflow pipe open to outdoor air without a screen | Install insect and light-proof screens on all inlet and overflow openings |
| Long periods of stagnant water with no turnover | Rotate stored water regularly; aim to use and refill stock every 2–4 weeks |
| Warm tank location with direct sun exposure all day | Shade the tank with a cover, awning, or plant screening |
What to Do If Algae Has Already Appeared
If you notice green or brown discolouration, a slimy coating on tank walls, or a musty odour, algae is already present. Do not continue drinking the water until the tank has been fully drained, scrubbed, disinfected with chlorine solution, and thoroughly rinsed as described in the annual cleaning procedure above.
| 🌿 For underground and sump tanks: algae growth is rare because sunlight cannot penetrate below ground. However, sediment buildup and bacterial growth still occur. Underground tanks should follow the same annual cleaning schedule. |
→ Underground Water Tank Volume Calculator →
Leak Detection: Catch Problems Before They Escalate
A leaking water tank wastes water, damages surrounding structures, and — if the leak allows outside contamination to enter — can compromise stored water quality. Most tank leaks begin as minor weeps around fittings or hairline cracks that are easy to fix if caught early, but quickly become major problems when ignored.
Signs Your Water Tank May Be Leaking
- Unexpectedly low water level despite no unusual usage
- Damp patches, watermarks, or efflorescence on walls near the tank base
- Soft or sunken ground around an underground tank
- Wet or corroded areas around inlet, outlet, or overflow fittings
- Visible cracks, splits, or deformation in the tank body
- Water consumption bills increasing without explanation
The Simple Leak Test for Homeowners
You can perform a basic leak test at home without any specialist equipment:
- Turn off the inlet water supply completely.
- Record the current water level — mark it with a pencil on the tank wall, or note the depth reading.
- Do not use any water from the tank for 12 to 24 hours.
- Check the water level again after the waiting period.
- A drop in level with no usage means water is escaping — either through a leak in the tank body or an incorrectly set float valve allowing overflow.
| 🔧 | Float Valve vs Structural Leak Before assuming a structural crack, check the float valve (ball cock) first. A float valve set too high allows continuous overflow — which mimics a leak. Adjust the float arm so the water level stops 50–75 mm below the overflow pipe outlet. If the level still drops after the float valve is correctly set, you have a structural leak to investigate. |
Repairing Common Tank Leaks
- Leaking fittings: shut off supply, drain below the fitting, dry thoroughly, and apply waterproof plumber’s putty, PTFE tape, or epoxy sealant appropriate for potable water use
- Hairline cracks in plastic tanks: food-grade tank repair epoxy kits are available for minor cracks; drain and dry the area completely before applying
- Cracked concrete tanks: apply a two-part hydraulic cement or tank-grade waterproofing slurry to the crack interior
- Structural damage or large cracks: consult a professional — attempting DIY repairs on structurally compromised large tanks can be dangerous
→ Cylindrical Water Tank Volume Calculator →
→ Plastic Water Tank Volume Calculator →
Water Tank Safety Tips for Homeowners
Beyond cleaning and leak detection, there are several safety practices that every homeowner should follow to keep their water tank — and their family — safe.
| 🔒 Tank Security and Contamination Prevention Checklist |
| ☐ Fit a lockable lid on all tanks accessible from outdoors or communal areas ☐ Install insect-proof mesh screens on all overflow and vent pipes ☐ Keep vegetation and overhanging tree branches away from the tank and its lid ☐ Never store chemicals, pesticides, or fuels near the water tank ☐ Do not connect water from a recycled water source to a tank used for drinking ☐ Label tanks clearly if you have multiple tanks for different uses (drinking, irrigation, fire) ☐ Ensure the tank is securely supported — a full 1,000-litre tank weighs 1,000 kg |
| 🌡️ Seasonal Maintenance Checklist |
| ☐ Before summer: inspect and tighten all external fittings; check lid seal for UV degradation ☐ Before winter: insulate exposed pipes and inlet fittings in frost-prone climates ☐ After heavy rain: flush any overflow that may have introduced contaminants from the roof catchment ☐ After extended travel: drain and fully refresh stored water before drinking if unused for over 2 weeks ☐ After bushfire / dust storm: flush inlet filters and test water quality before use |
When to Call a Professional
Some maintenance tasks are beyond a homeowner’s safe scope. Call a licensed plumber or tank maintenance specialist if you observe any of the following:
- Structural cracks longer than 10 cm or any crack with visible spreading
- Persistent discolouration or odour that does not resolve after cleaning
- A large buried or underground tank that requires entry for inspection or cleaning
- Water test results showing bacterial contamination above safe levels
- Any work involving electric pumps, pressure systems, or automated level controllers
Plan Your Storage Capacity Correctly
Good maintenance starts with having the right size tank in the first place. An oversized tank stores more water than you regularly use, increasing stagnation time and the risk of contamination. An undersized tank means constant top-ups and pressure on fittings. Calculating the correct capacity for your household is the foundation of a healthy water storage system.
| 💧 As a general rule, a household of 4 people needs 150–200 litres per person per day for normal use. For 3 days of emergency backup, that is 1,800–2,400 litres of stored capacity. |
Use the tools below to calculate and check your tank capacity accurately:
→ Cylindrical Tank Volume Calculator →
→ Horizontal Tank Volume Calculator →
→ Tank Volume Unit Converter →
Further Reading
For comprehensive guidance on safe water storage standards and household water system management, refer to the World Health Organization’s authoritative resource on household water treatment and safe storage:
WHO Household Water Treatment and Safe Storage guidelines
Household water treatment and safe storage are recognized public-health interventions that help improve drinking water quality and reduce waterborne diseases when properly implemented
Frequently Asked Questions
Q: How often should a residential water tank be cleaned?
A: At minimum, every 12 months. Tanks used for drinking water or cooking should be cleaned and disinfected annually. If your tank has a history of algae growth, if you notice any change in water taste or odour, or if the incoming water quality is poor, clean more frequently — every 6 months is advisable.
Q: What is the best way to disinfect a water tank?
A: The most reliable and cost-effective method is a chlorine disinfection using household bleach (sodium hypochlorite, 5% concentration). Use approximately 0.5 ml of bleach per litre of tank capacity. Apply after physically scrubbing all surfaces, allow 30 minutes of contact time, then rinse thoroughly at least three times before refilling.
Q: How do I stop algae growing in my water tank?
A: The key is blocking light — algae cannot grow in complete darkness. Use an opaque, UV-stabilised tank (dark blue, black, or green tanks block light far better than translucent white or grey ones). Fit a tight-sealing lid, screen all vents and overflow pipes, and clean the tank annually. Shading an exposed tank from direct sunlight also significantly reduces algae risk.
Q: How do I know if my water tank is leaking?
A: Turn off the inlet supply for 12–24 hours and check whether the water level drops without any usage. Also check for damp ground, wet patches near fittings, or an unusually high water bill. Before diagnosing a structural leak, verify the float valve is not set too high causing continuous overflow.
Q: How long does a plastic water tank last?
A: A well-maintained, UV-stabilised polyethylene water tank typically lasts 15 to 25 years. Without regular maintenance — particularly annual cleaning and protecting from UV degradation — the lifespan can drop to 5 to 10 years. Inspect the tank exterior annually for signs of UV chalking, cracking, or deformation.
Q: Is it safe to drink water from a tank that has not been cleaned in years?
A: Not without testing and treatment first. Uncleaned tanks can harbour bacteria, sediment, and in some cases algae toxins. If your tank has not been cleaned in more than 2 years, drain and clean it completely before resuming use of the water for drinking or cooking. Consider having the water tested for bacteria and chemical contaminants after cleaning.
Conclusion
Water tank maintenance does not need to be complicated or expensive — but it does need to be consistent. A simple annual cleaning routine, combined with monthly visual checks and prompt attention to any leaks or unusual changes in water quality, is enough to keep most domestic water tanks in excellent condition for 20 years or more.
The biggest risk is neglect. Algae, bacteria, sediment, and undetected leaks all get significantly worse over time if not addressed early. A small investment of time each year protects both your family’s health and your tank’s long-term value.
As a starting point, make sure you know your tank’s exact capacity — it determines the correct amount of disinfectant to use during cleaning, and helps you plan your daily and emergency water needs accurately.
| 🔗 Use our free water tank calculators at tankvolume-calculator.com to find your tank capacity in litres or gallons instantly — then bookmark your annual cleaning date in your calendar. That one habit can add years to your tank’s life. |